I usually create my bonsai starting from the very beginning of a tree, so that I can feel free to reed it and interpret it. I like the idea of conceiving and making a bonsai from scratch. In this case instead I thought to make an exception and make myself a gift!
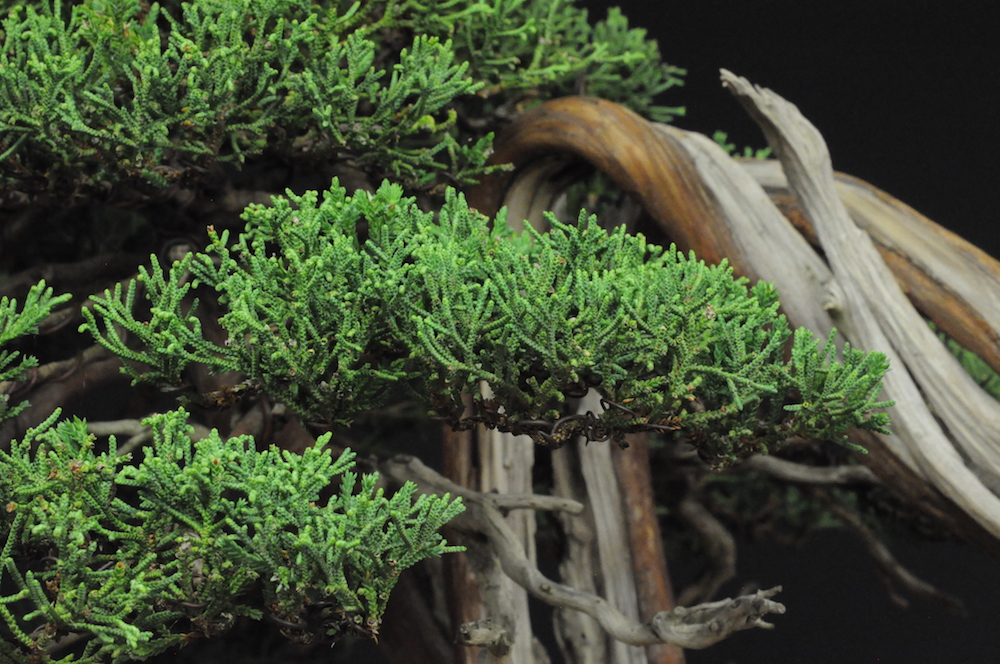
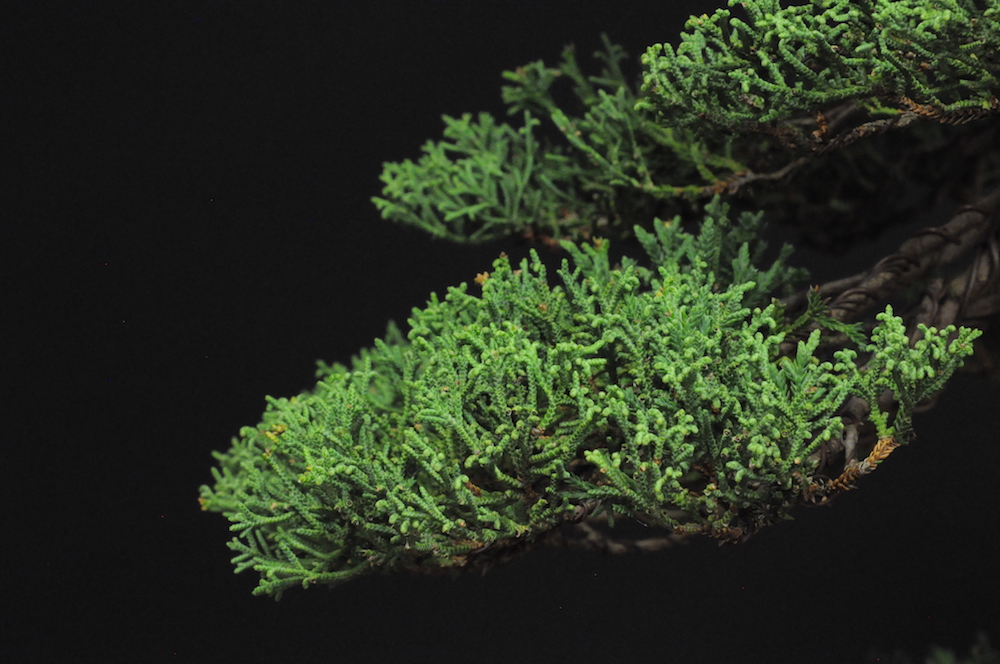
In 2012 the company Franchi, where I work, imported this juniper. It is not a “noble” or more famous variety like itoigawa or kishu. Unlike these, the vegetation of this juniper, of which I do not know the variety, is lighter in colour while the needle is much larger and messy.
.
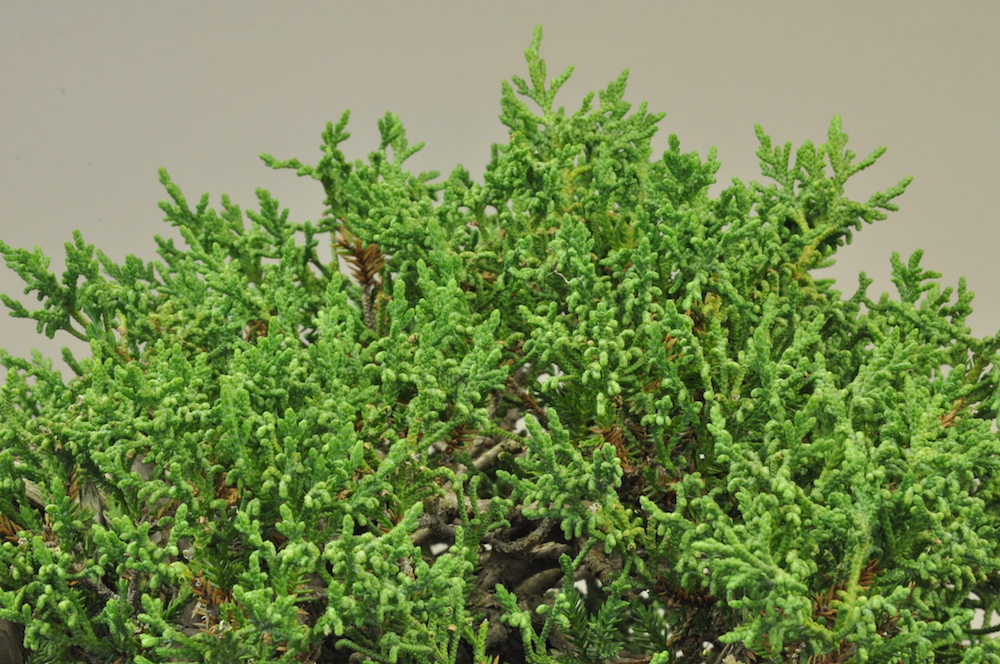
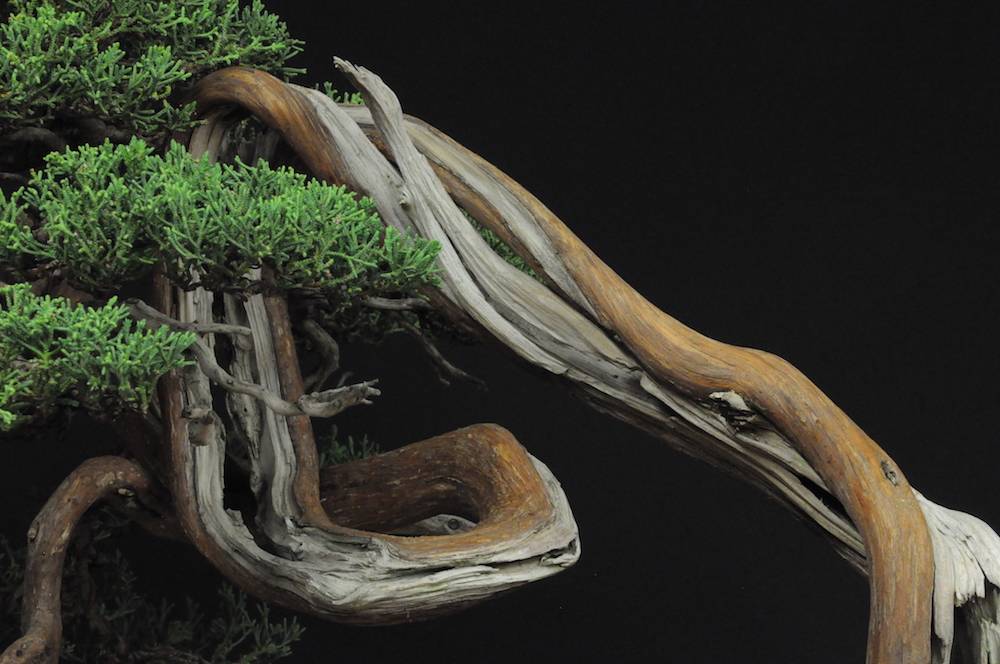
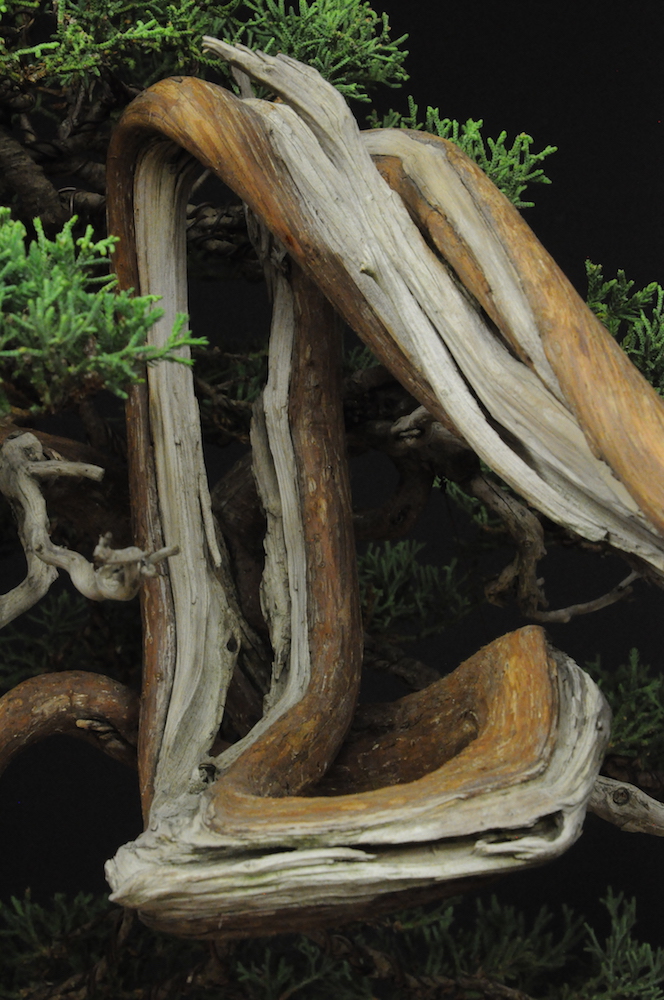
I can be sure of something: it will be more difficult to create a dense and fluffy foliage like that of more valuable varieties. Despite this, the movements of the trunk and the twist between dead wood and the other veins attracted my attention right away. It was for this reason I decided to buy this tree.
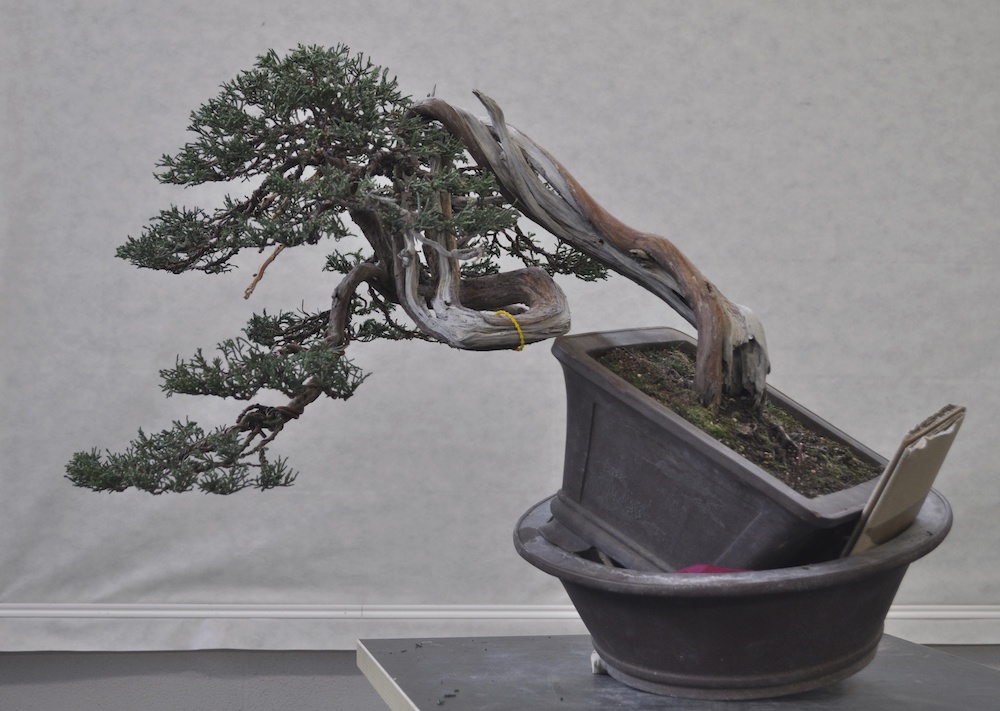
In April 2012 the juniper had a super thick foliage. In a rectangular vase suitable for a cascading style, the juniper was positioned with the trunk horizontally and with an inclination that did not emphasize the beautiful movement.
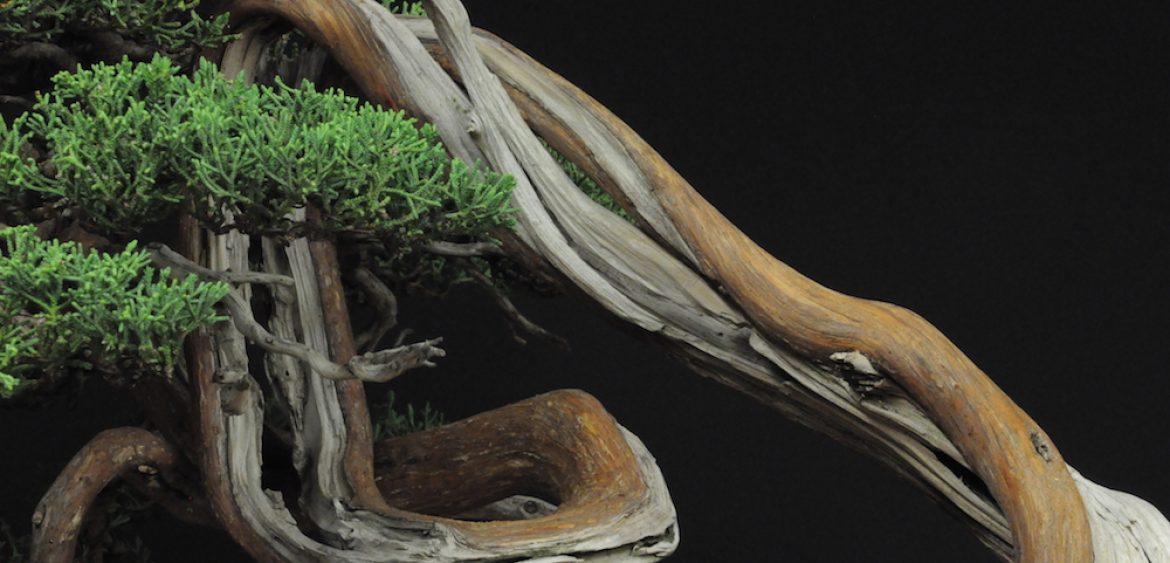
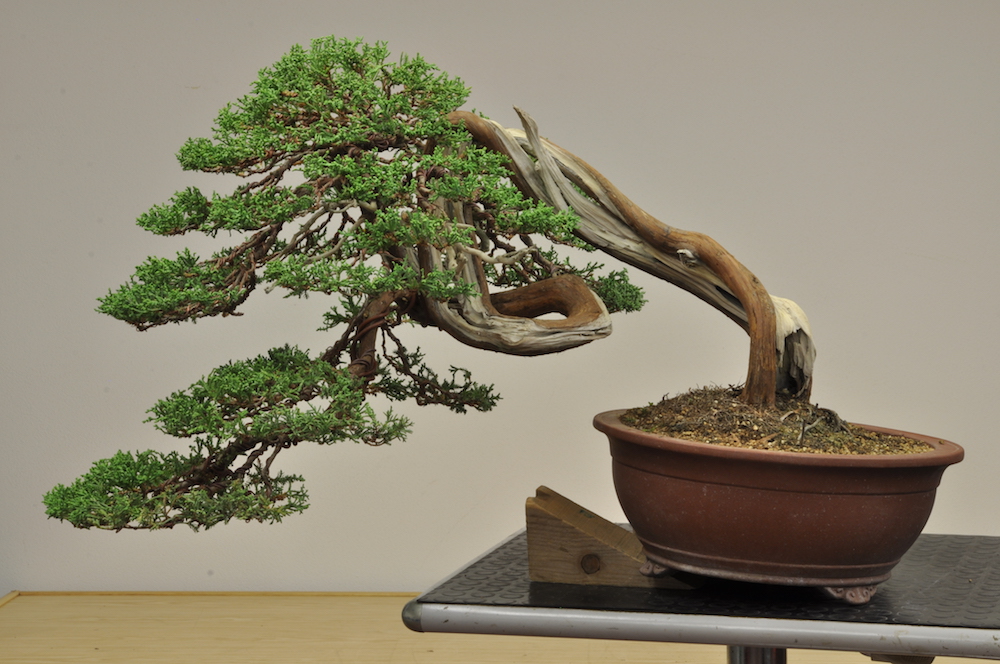
I do the usual cleaning of the vegetation and the trunk in January 2013. It appears immediately evident the potential of this juniper. Two veins move sinuously along the entire trunk, drawing curves and weaves until you reach the dense and vigorous foliage.

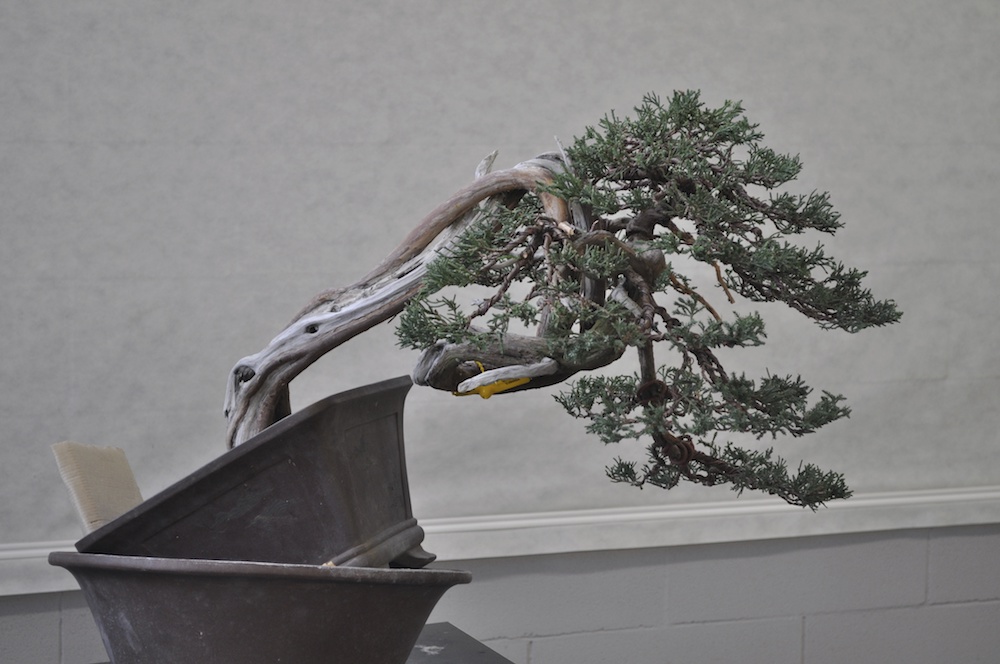
The first thing I do is a change of the inclination of the bonsai by defining a new position that highlights the movement of the trunk and the intertwining between veins and dead wood.
The first styling has as main purpose the positioning of the primary branches in order to realize the structure I have in mind. The result is a bonsai in a semi-cascade style with a strong direction to the left.
In 2014 I carry out a first re-potting that allows me above all to properly cultivate the plant . The pot is a round slightly large and certainly not defined by colour and shape. I replace the old mixture of 100% akadama with a mix, more or less in equal parts, of pumice, akadama and kiriu.
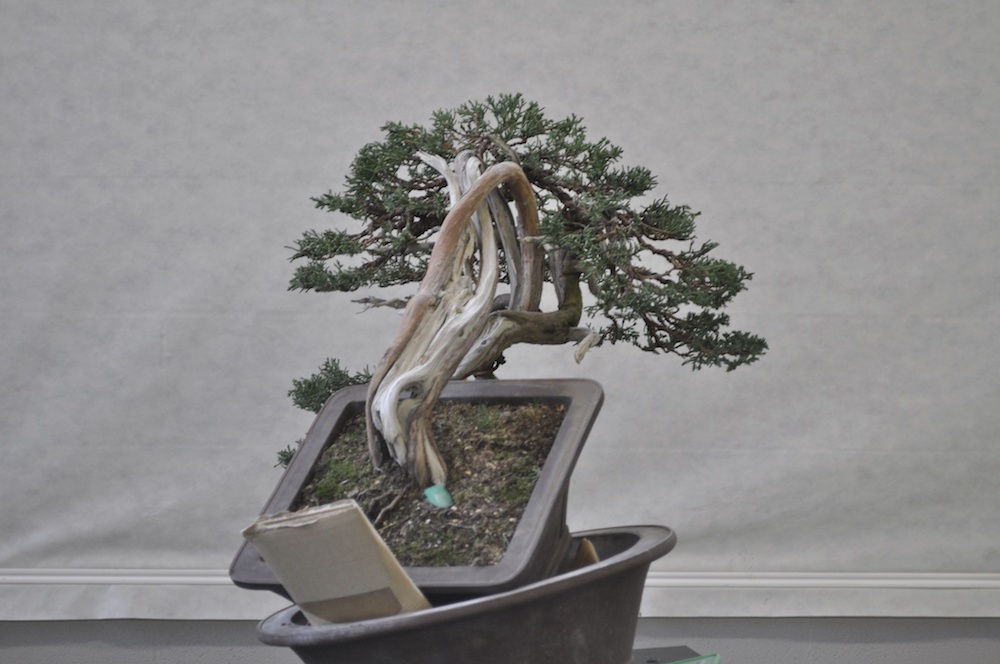
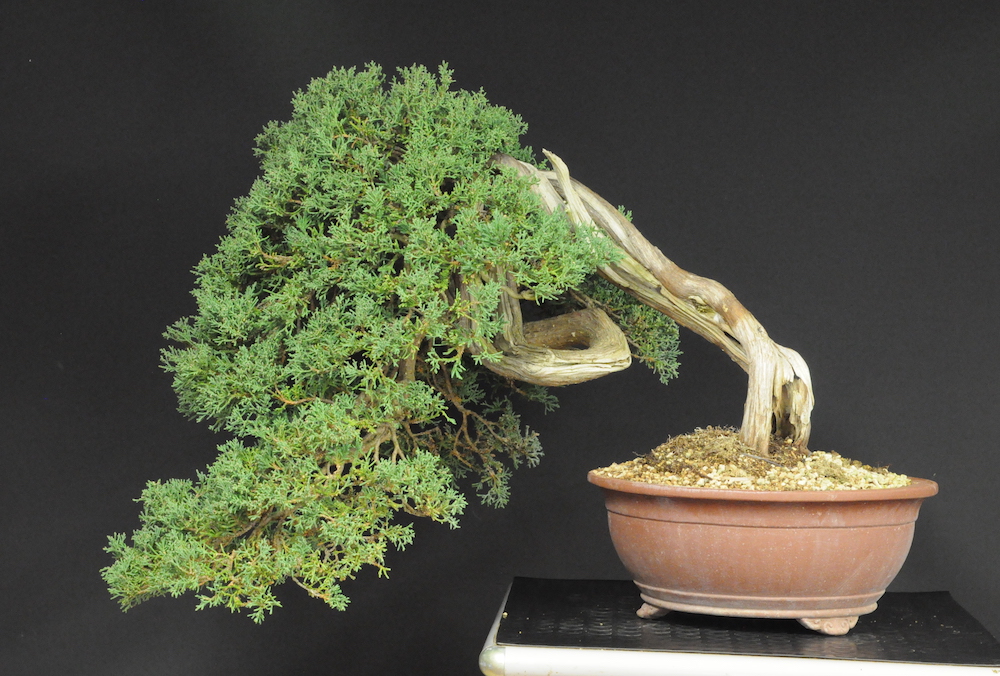
In September 2015 I proceed to the next step. So far I have allowed the vegetation to grow freely in order to consolidate the main folds and the structure of the branches.

As the shaping progresses, new movements on the main branches are avoided and the branching becomes increasingly refined. This is exactly what I realize in the second styling where I also make a small tilt correction. The design of the foliage becomes even more definitive.
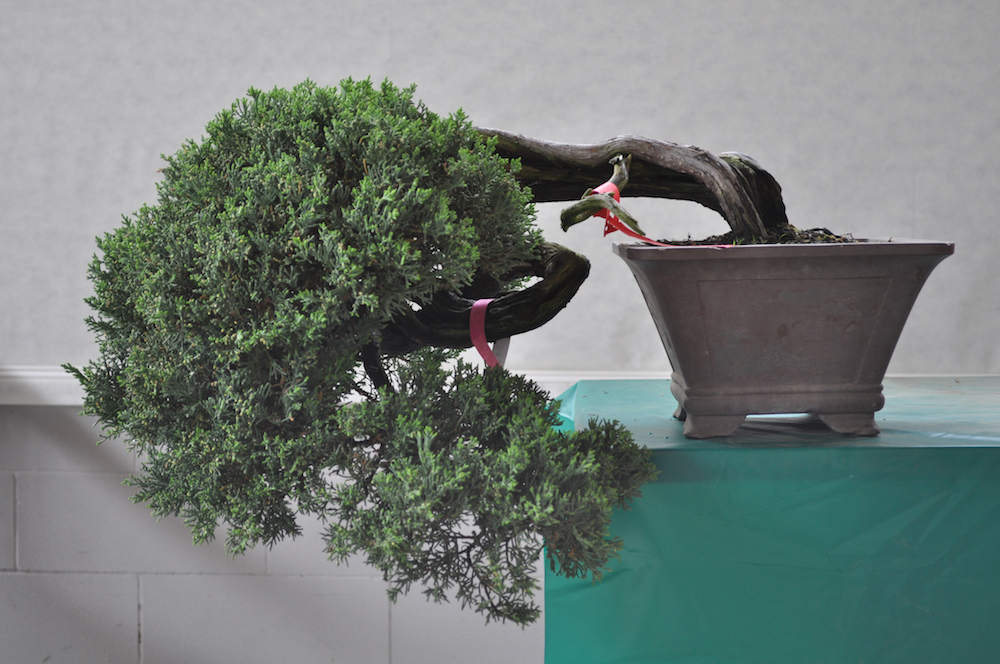
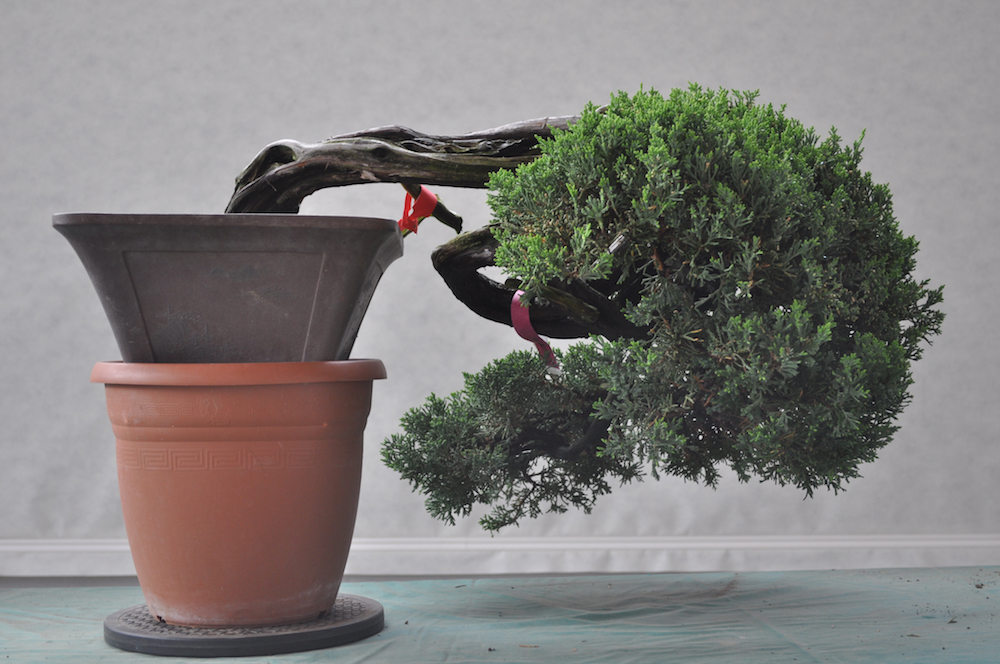
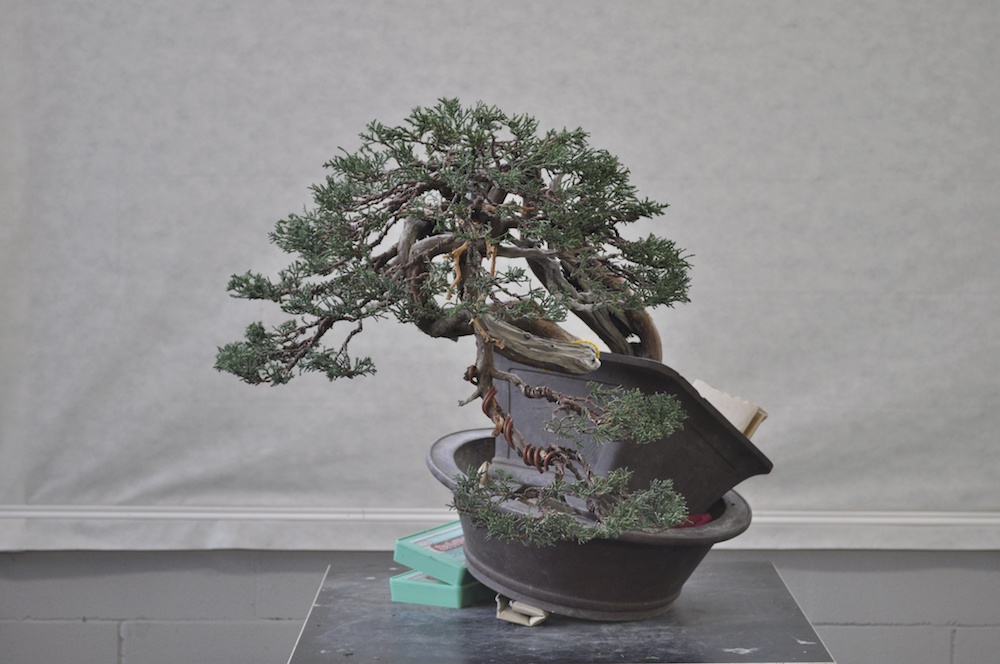
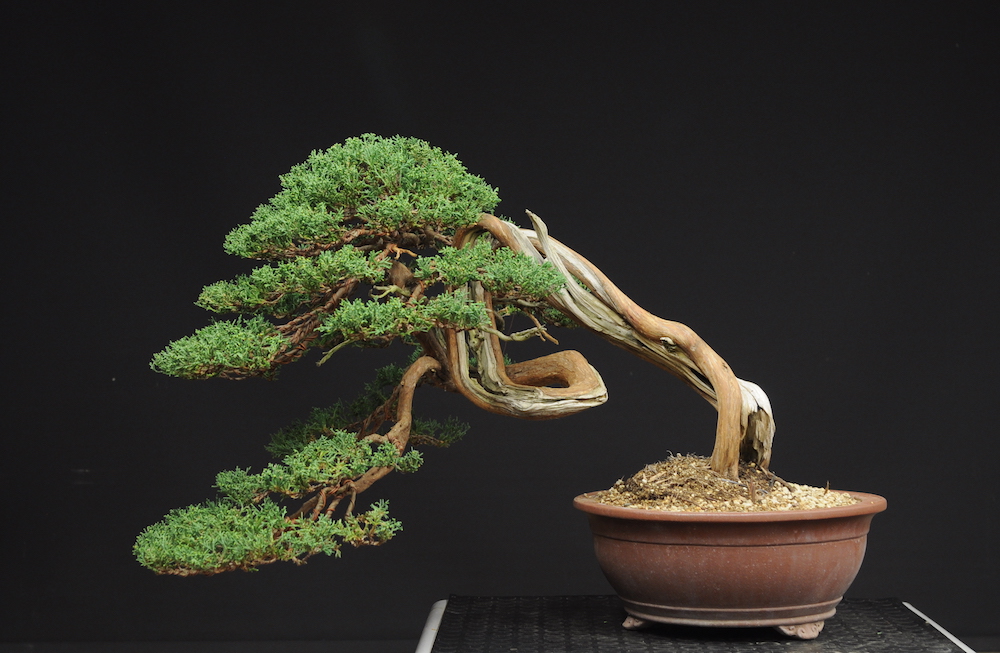
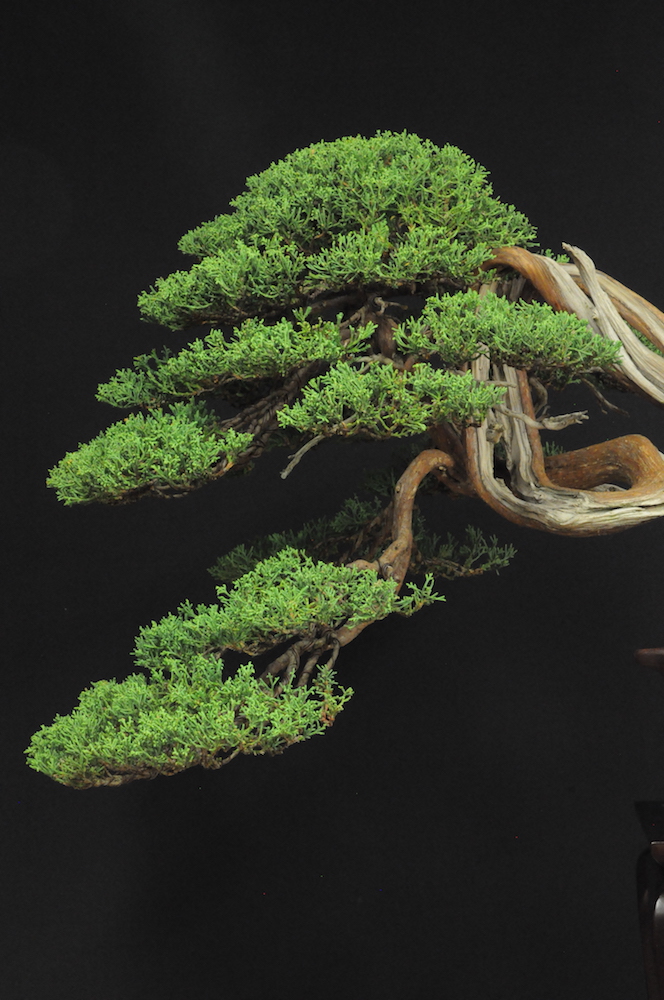
And we come to the third styling performed in February 2018. The juniper, for the occasion, looks like this:
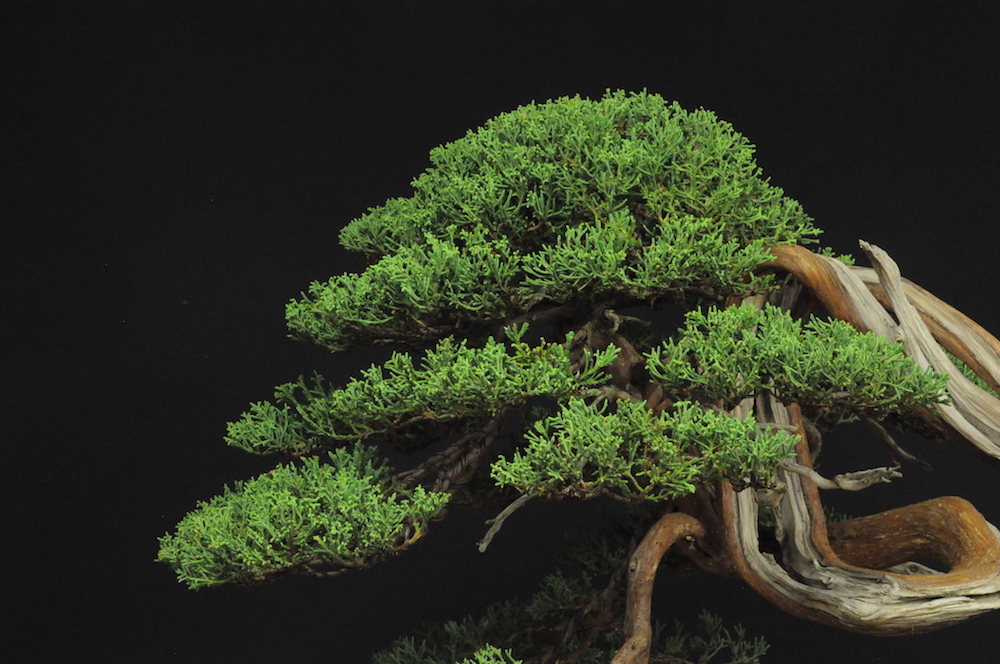
At this step the profiles and density of each pad are defined even more precisely. This allows us to better manage the empty space. When we talk about empty space we do not only refer to the creation of adequate distances between the branches but also to the choice of details to highlight or hide.
An empty space is not only the result of the spacing between the stages but also the creation of “windows” to highlight the details of our bonsai (jin, shari, corners, etc.) that would otherwise be invisible.
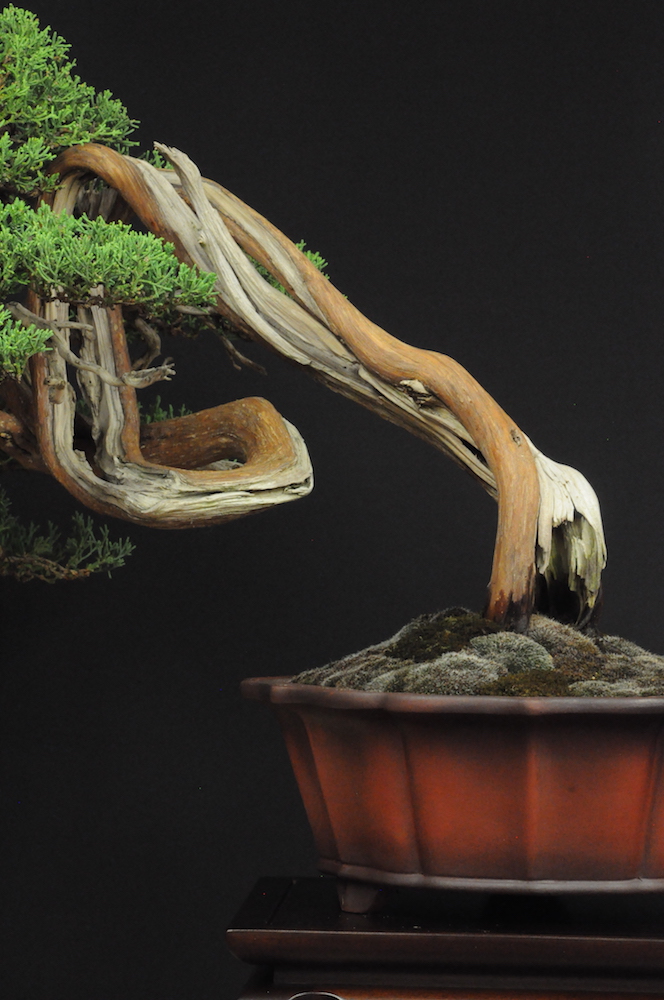
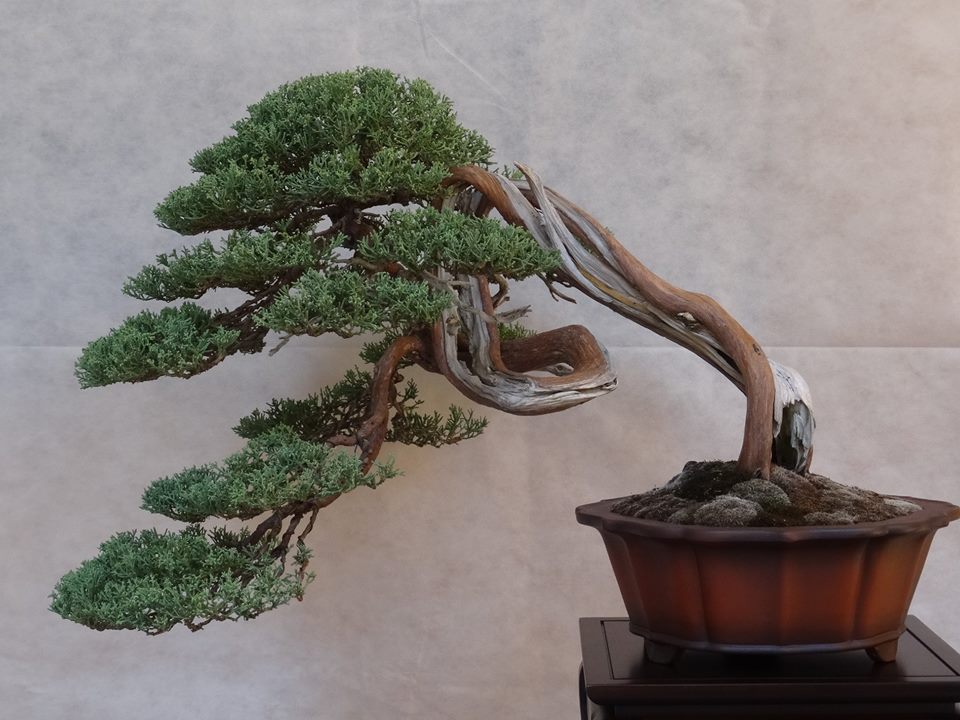
Something important is still missing here: the re-potting in the final pot. The operation takes place in March 2018 in a container of Chinese origin (Yizing). The shape is similar to a lotus flower while the colour is a red with dark shades. Since the plant is strongly unbalanced towards the outside I preferred a flared container with an edge that follows the movement towards the outside. Moreover, the high and thin feet add elegance to the composition.
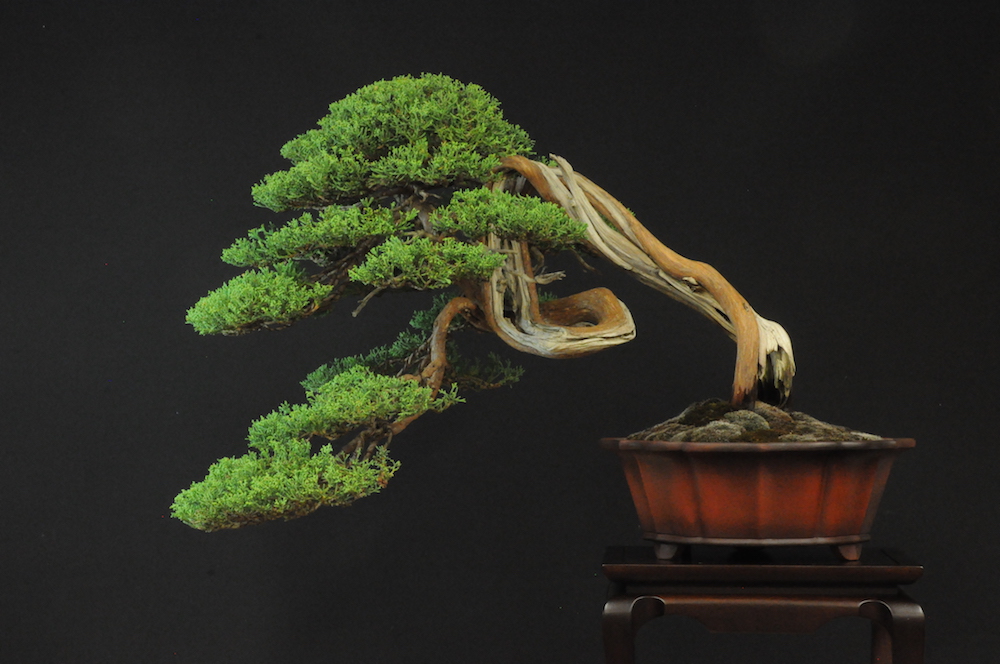
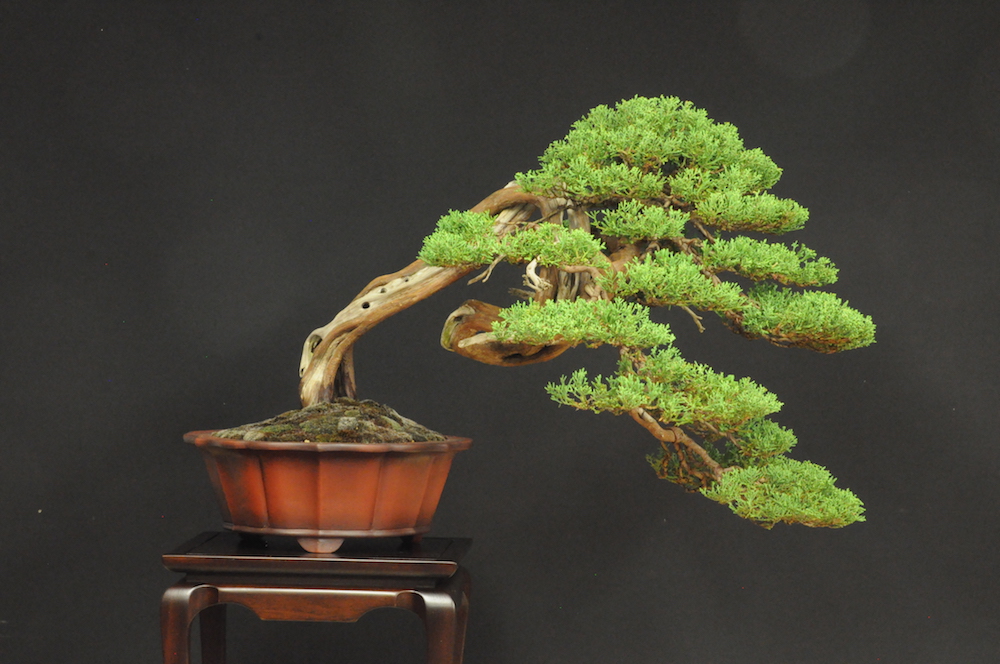

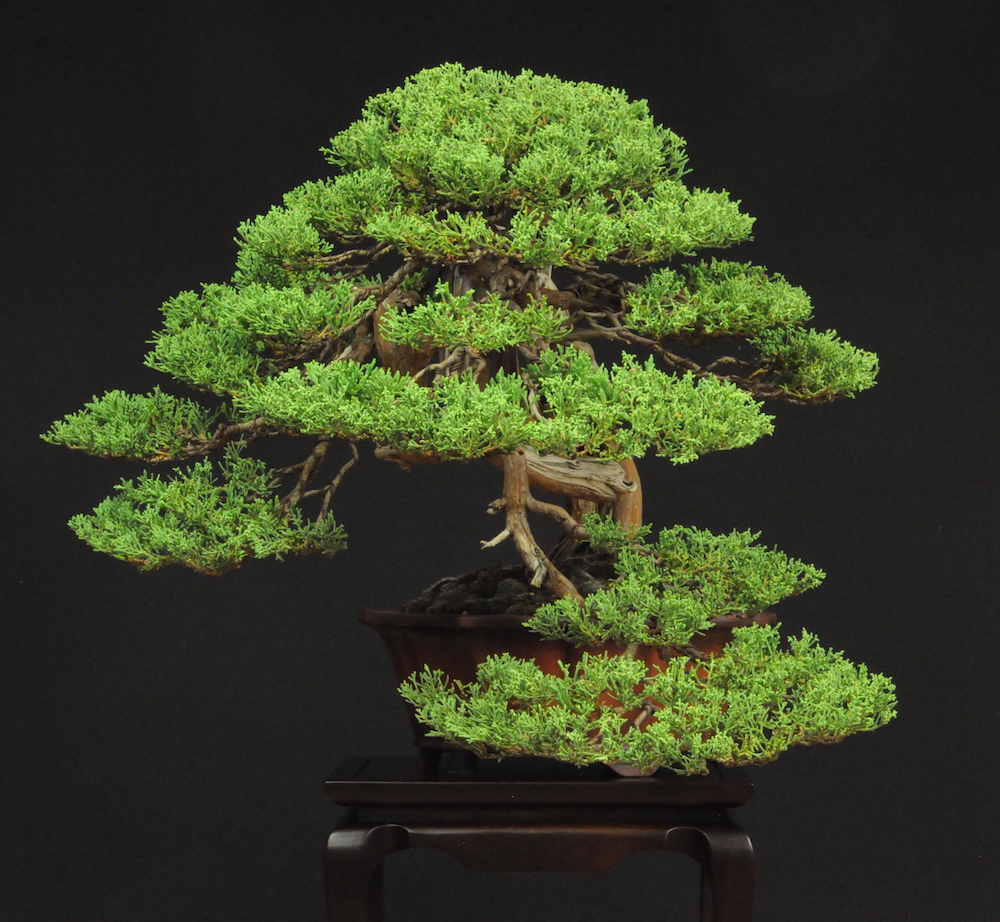
In September 2018 I am very pleased, the reconstruction of the juniper, began 6 years ago, is now complete.
Some shots that highlight the best details:

Recent Comments